I had to go to Walmart for a 1 a.m. run to get butane for the torch. I used a mold because I didn't want to go too crazy when I didn't really know what I was doing. When I opened the clay, it was pretty basic clay. It felt like normal, wet clay. It was pretty sticky, so it's a good idea to oil your fingers a little so you don't waste a lot of clay when it sticks to you. Also, oil your mold if you are using one (I didn't do that the first time and there was no way that clay was coming out of the mold). They didn't specify what kind of oil to use, so I used olive oil.
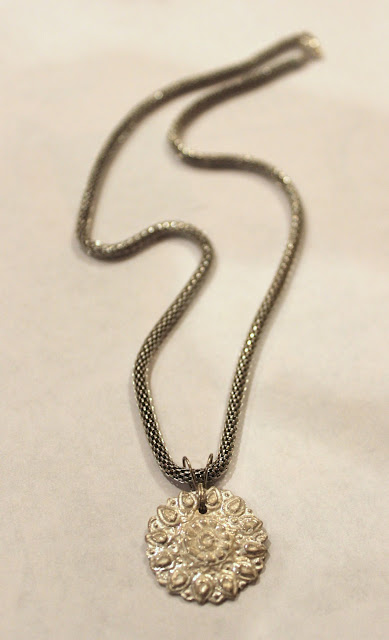
So, after pushing the clay into the mold and letting it dry a bit, I pulled it out and filed the edges a bit to give them more definition. This is what I ended up with:
The only difference I felt between working with this and regular clay was that it was a little heavier. It had the weight of the metal despite looking like normal clay. I had to blow dry the piece a little because I didn't want to wait 24 hours for it to dry on its own. Then, I was ready to torch it. My torch was a little disappointing. It didn't seem to work that well, but it did the job. You torch the clay until it changes a salmony pink color. Once it is that color, you time it for 2.5 minutes. You are expected to have about 8-9% shrinkage.
Following the torching, your piece still looks like clay, but when you it with a wire brush, it brushes off the bonder and reveals the metal and gives it a satin finish. Working on it with the agate-tipped burnisher gives it a high polish finish.
I know it might seem like I am missing some steps, because, bam, all of the sudden we have a fine silver (99.9% silver) pendant. Not bad, eh? I think it might look better if I knew how to antique it so that the pattern stood out more.


So cool!
ReplyDelete